I’m sitting here in my apartment and trying to figure out the easiest way to install acoustic foam panels on my wall so they absorb the most sound. There is a lot of echo in the room, which amplifies any type of noise so I need a way to reduce it. I don’t want to damage my walls and I also do not want to spend a lot of money. Here is the solution I came up with after much research and experimentation.
What is the most effective and affordable way of optimizing sound damping while minimizing wall damage? The key is to install the foam panels so there is a space between the mounting surface and acoustic panel. To easily do this on a budget, glue cork wall tiles to the back of foam panels and then stick to the mounting surface using double-sided tape.
This method met all of my soundproofing needs. It was super affordable (under $100) and easy to do. It also ended up looking aesthetically pleasing to the eyes!
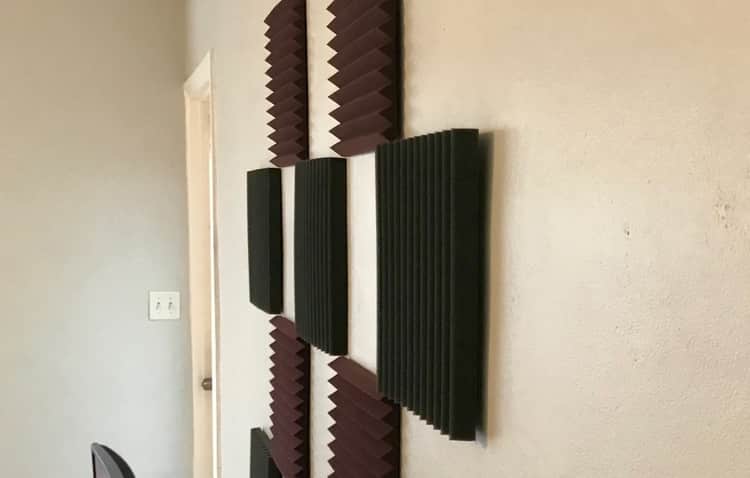
The foam panels can easily be removed without much damage to the wall, which was a concern I had since I’m renting an apartment. I will go over exactly what I did for this DIY soundproofing project in the rest of this article.
What worked but wasn’t ideal
First, let me discuss what worked but was not that ideal. I originally had planned to simply put double sided tape on the back of the foam panels and then stick them to the wall. This did work but the tape damaged the back side of the foam panel when I tried to remove it.
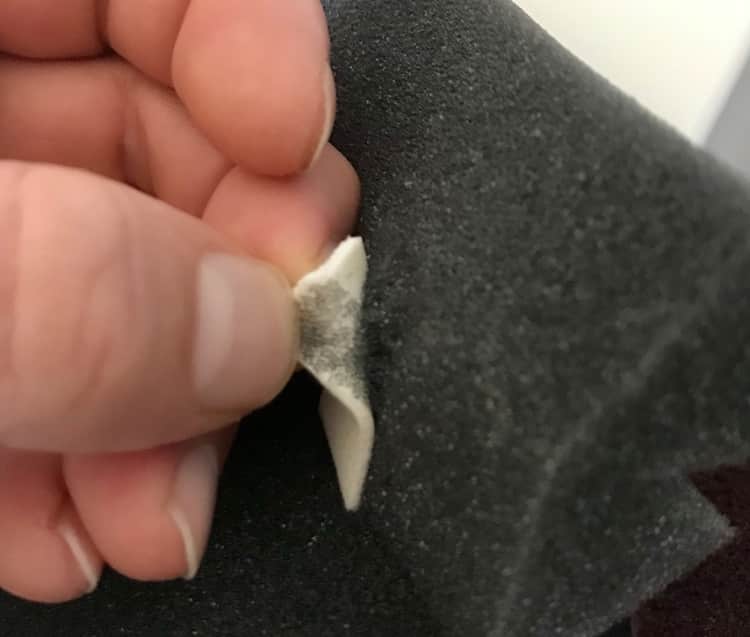
As you can see, simply sticking the double-sided tape to the back of the foam would tear pieces off when you tried to remove the tape. This was not ideal because I knew sometime in the future I would want to remove the tape without damaging the foam panels.
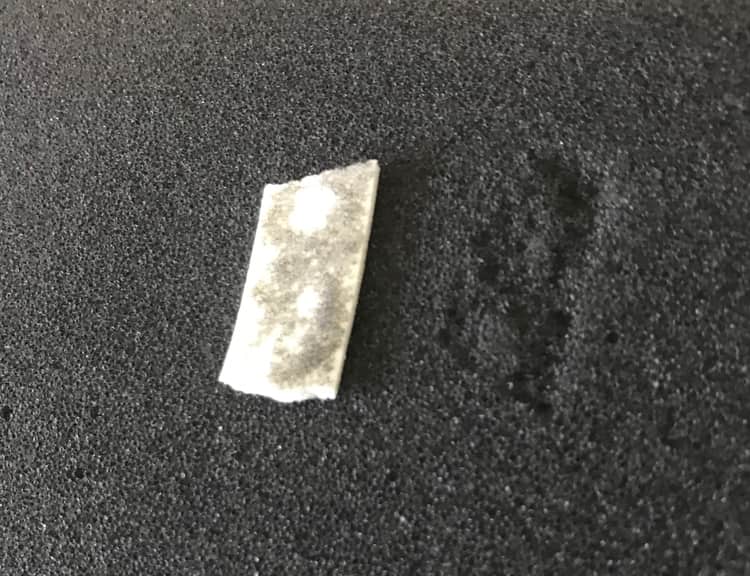
I know this is only minimal damage but if I need to move a lot or rearrange the setup of my room, my panels could take a beating. These little divots over time can add up and weaken the overall integrity of the acoustic panel.
Furthermore, this method of adhesion was not fully practical because I would come home from work to discover that a few of the panels had fallen off the wall. The tape remained on the wall but the foam panel was on the ground. Since foam consists of porous material, the surface is not ideal for double-sided tape adhesion.
Lastly, only using double-sided tape for installation did not allow enough of an air gap between the wall and foam to be effective. Like I previously mentioned, when you hang soundproof panels, there should be a space between the panel material and the mounting surface.
Why there needs to be an air gap between the acoustic panel and mounting surface
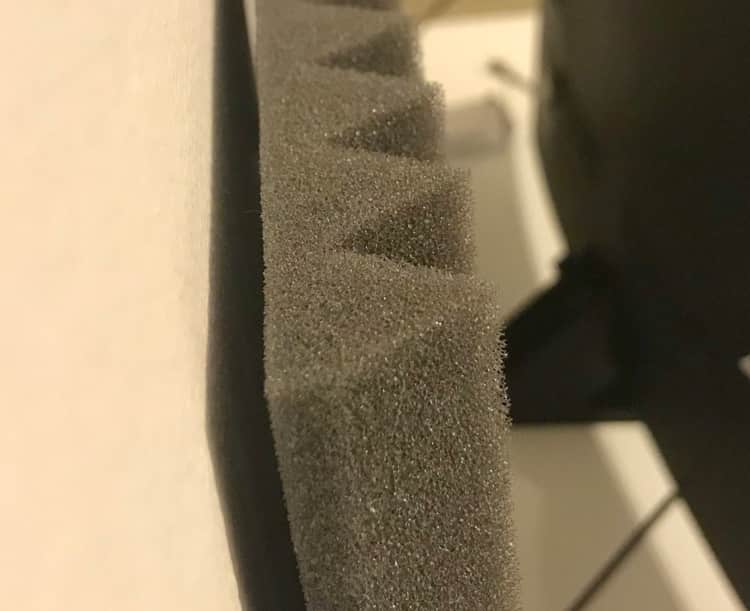
Have you ever noticed how acoustic panels seem to be “floating” off the walls in recording studios? The reason the panels are installed this way is to capture and absorb more of the sound energy. Having more sound absorbing surface area exposed will help to better manage reflection points.
When mounted on a wall with a spacer, sound gets behind [an acoustic panel] so its rear surface can also absorb. This air gap increases absorption as much as 50%, and also extends absorption to lower frequencies when compared with flat wall mounting. When placed straddling a corner the absorption is even greater, especially at low frequencies.
Recordinghacks.com
When sound hits a surface, the velocity is zero. At this point, it is too late to absorb sound energy.
Instead, sound waves need to be captured as they approach walls, floors, and ceilings. Simply hanging an acoustic panel flush to a flat surface will not be as effective as a “floating” panel if you are trying to maximize sound absorption or reduce echo.
Creating space between the mounting surface and acoustic panel will improve your soundproofing efforts by capturing the sound traveling at a higher velocity sooner, which is ideal for reducing noise and minimizing echo. Additionally, the extra sound absorbing surface area will improve airflow ultimately helping to mitigate bounce back.
So what happens to the sound waves traveling through a absorbing material at such a high velocity?
They are slowed down as they pass through the fiberglass, which converts the sound energy into heat therefore absorbing some of the sound.
Ethan Winer
This now begs the question…
Will increasing the space between an acoustic panel and the wall create more absorption?
As you already know, incorporating some space between an acoustic panel and the mounting surface will help to absorb noise by capturing a lower frequency. So if you want to absorb more noise, should you increase the amount of space between the acoustic panel and surface?
During my research, I discovered that there is disagreement around this question. Some professionals claim you will experience positive soundproofing effects while others claim you will not notice any additional benefits.
After thoroughly studying Ethan Winer’s research, incorporating additional space behind your acoustic panels may actually be unnecessary. He states the following in his research.
the first few inches of space yield the most benefit
Ethan Winer
However, there is an underlying problem with dramatically increasing the amount of space behind your acoustic panels. You can run into the issue of panel protrusion, which can cause interference with human activities such as walking or viewing something in the room. Furthermore, having acoustic panels protrude aggressively into the room may look awkward.
I feel at some point you would reach a point of diminishing returns. Creating space behind your acoustic panels is ideal but not to the point that it causes interference or visual obstruction in the room you are soundproofing.
When performing any type of soundproofing project you should consider how much space you are willing to give up. Most of us prefer not to give up more space than we have too.
How much space should there be between an acoustic panel and the wall?
Like I mentioned before, incorporating any amount of spacing from the surface will help to reduce more sound. Remember, the first few inches yield the best soundproofing effect.
A good rule of thumb is to create an air gap that is equal to the thickness of your acoustic panel. This should be sufficient enough to optimize your soundproofing efforts.
For example, if your panel is 1-inch thick then you will need to create an air gap of 1 inch from the wall. If your panels are 4 inches thick then aim for a 4-inch space.
Personally, I would not recommend any air gaps beyond 4 inches because then your panels could possibly cause interference to some degree. Unless you are soundproofing a large hall, you should not need any more space than that.
How to install acoustic foam panels so they create an air gap
Once I discovered that I should incorporate an air gap for my acoustic panel installation strategy, I began to brainstorm different ideas for the backing of my panels. I needed something that would provide decent spacing but also remain durable.
Initially, I thought cardboard was a good idea because I have seen other people use it as backing for their foam panels. This is definitely a cheap option that can work and also help to protect your acoustic foam panels. You will be able to easily stick them to your wall using double-sided tape.
The only downside to using cardboard is that you would have to physically cut them to size, which requires additional work. I was in search of finding the least amount of labor as possible!
Enter the cork wall tile…
Cork Wall Tile Backing For Acoustic Foam Panels
I was walking through the Office Depot looking for another source of backing for my foam panels when I came across some 6-inch cork wall tiles. A light went off in my head. These were perfect!
If you don’t already know, cork is an excellent sound absorber. It is commonly used in recording studios, which is why cork tiles made the perfect backing for my acoustic foam panels. I decided to glue these to the back of my foam panels and then I would install them on the wall using double-sided tape.
What else you will need
In addition to the small cork tiles, you will need the following to create the backing of your foam panels. I have taken a picture of everything you need.
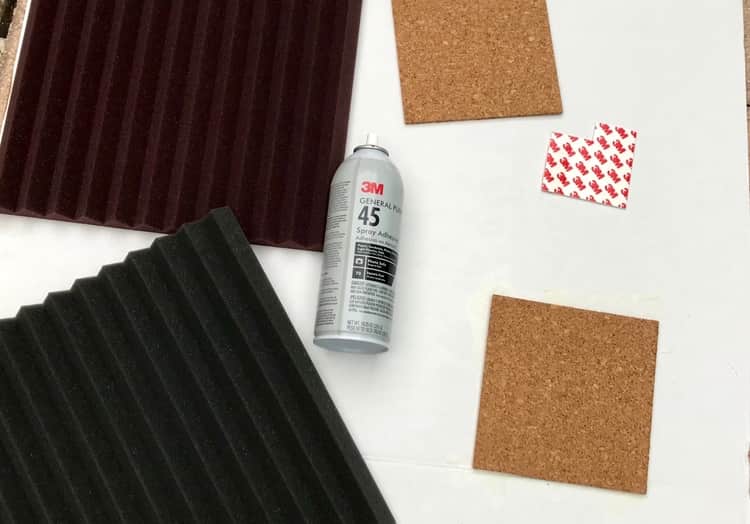
- 6″ cork wall tiles
- 12″ x 12″ x 1″-2″ foam panels
- 3M Spray Adhesive
- Square 3M double-sided tape
- A working surface
- Large cardboard panel as your working surface
Steps to create the foam panel backing
Here are some step-by-step instructions that show you how to easily attach the cork to the back of your foam panel.
- Place one side of a cork tile flat on your cardboard working surface
- Spray the side facing up with 3M adhesive
- Stick the recently sprayed side of the cork wall tile to the backside of the foam panel
- Apply two square double-sided tape to the top and bottom cork tile corners (4 total because you are doubling up the thickness to increase the air gap)
- Let dry for a couple of hours
Check out the finished product below to get an idea of positioning of the cork tile.

I angled the cork tile this way to easily apply the double-sided tape and hang on the wall. This way I would not have to perform measurements to find the middle of the cork for placing the tape evenly.
Now you are ready to mount your tiles! Using two pieces of double-sided tape in addition to the cork will provide roughly 1/2″ of space between the foam panel and wall. If you want more of an air gap then you can double up on the cork thickness.